Getting Started
Welcome! There's only one thing you have to do to start sending and receiving family emails: tell Addie which email address you'd like to use. That's it. You do not need a Gmail address, and you do not need a Google account just to email the groups.
Once Addie has added you, please also do Step 2 below — by default Google shows your messages to the group with just your email address (no name), so the family can't easily tell who sent what. You'll need to set a display name in each group you belong to.
Step 1 — Join the groups (this is the only required step)
The groups are invite-only, so someone has to add you from the inside. Email Addie at techsupport@rudysmithfamily.com from the address you'd like to use, and mention which groups you belong in (or just say "all of them" — she can sort it out). She'll add you, and a welcome message will land in your inbox.
Any email address works — Yahoo, Outlook, AOL, iCloud, your work email, Gmail, whatever you already use. Once you're added:
- To send to everyone in a group, send a regular email to the group's address (for example, family@rudysmithfamily.com). Everyone in that group gets it in their inbox.
- To reply privately to just the sender, hit Reply. Only that one person sees it — the rest of the group does not.
- To reply to the whole group, hit Reply All. Everyone in the group gets it, just like the original message.
- To share photos, attach them to the email like normal.
That handles sending and receiving. There's one more quick thing worth doing so the rest of the family knows it's you on the other end.
Step 2 — Set your display name in each group
By default, Google Groups doesn't attach a name to your posts — your messages go out with just your email address (something like your@email.com) where your name should be. To the rest of the family, that looks like a stranger or a piece of spam, and people may not open it. Please take a minute to set a display name.
You have to do this separately for every group you belong to. The display name lives inside the group's membership settings, not on your Google account, so setting it on the Family group won't carry over to Rudy-Smith Boomers+ or Cousins. A minute of clicking now saves a lot of "wait, who is this from?" later.
Full step-by-step with screenshots is on the Help page: Set your name in a group's membership.
The short version: open the membership page for each group below, type the name you'd like the family to see in the Display name field, and click Save. Repeat for the next group.
- The Rudy-Smith Family — membership settings
- Rudy-Smith Boomers+ — membership settings
- The Rudy-Smith Cousins — membership settings
If Google asks you to sign in and you've never set up a Google account on this email, jump down to Step 3 first, then come back here.
Step 3 (optional) — Add a Google account for extras
A Google account is only needed if you want the extras on top of email:
- Reading the group archive in your browser at groups.google.com instead of just in your inbox.
- Opening the shared Family Drive for photos, videos, and reunion documents.
If you don't care about either of those, skip this step entirely. You can always come back later.
Wait — do I need a Gmail address for this?
Nope. A "Google account" and a "Gmail address" are not the same thing. A Gmail address is an email that ends in @gmail.com. A Google account is just a free login that can be attached to any email address — Yahoo, Outlook, iCloud, work email, whatever. You can have a Google account using grandma@yahoo.com and Google doesn't care.
Do I already have a Google account?
Maybe! If you've ever:
- Used an Android phone
- Watched YouTube while signed in
- Used Google Photos, Google Drive, or Google Calendar
- Signed in to anything with a "Sign in with Google" button
...then you probably already have one. Try signing in at accounts.google.com with your everyday email address. If it works, you're set — no need to create one.
If you're not sure, no harm in trying. If it says "couldn't find your Google Account," follow the steps below to create one.
Create a Google account using your existing email
This is the part that trips people up, because Google really, really wants you to make a new Gmail address. You don't have to. Here's how to use the email you already have.
-
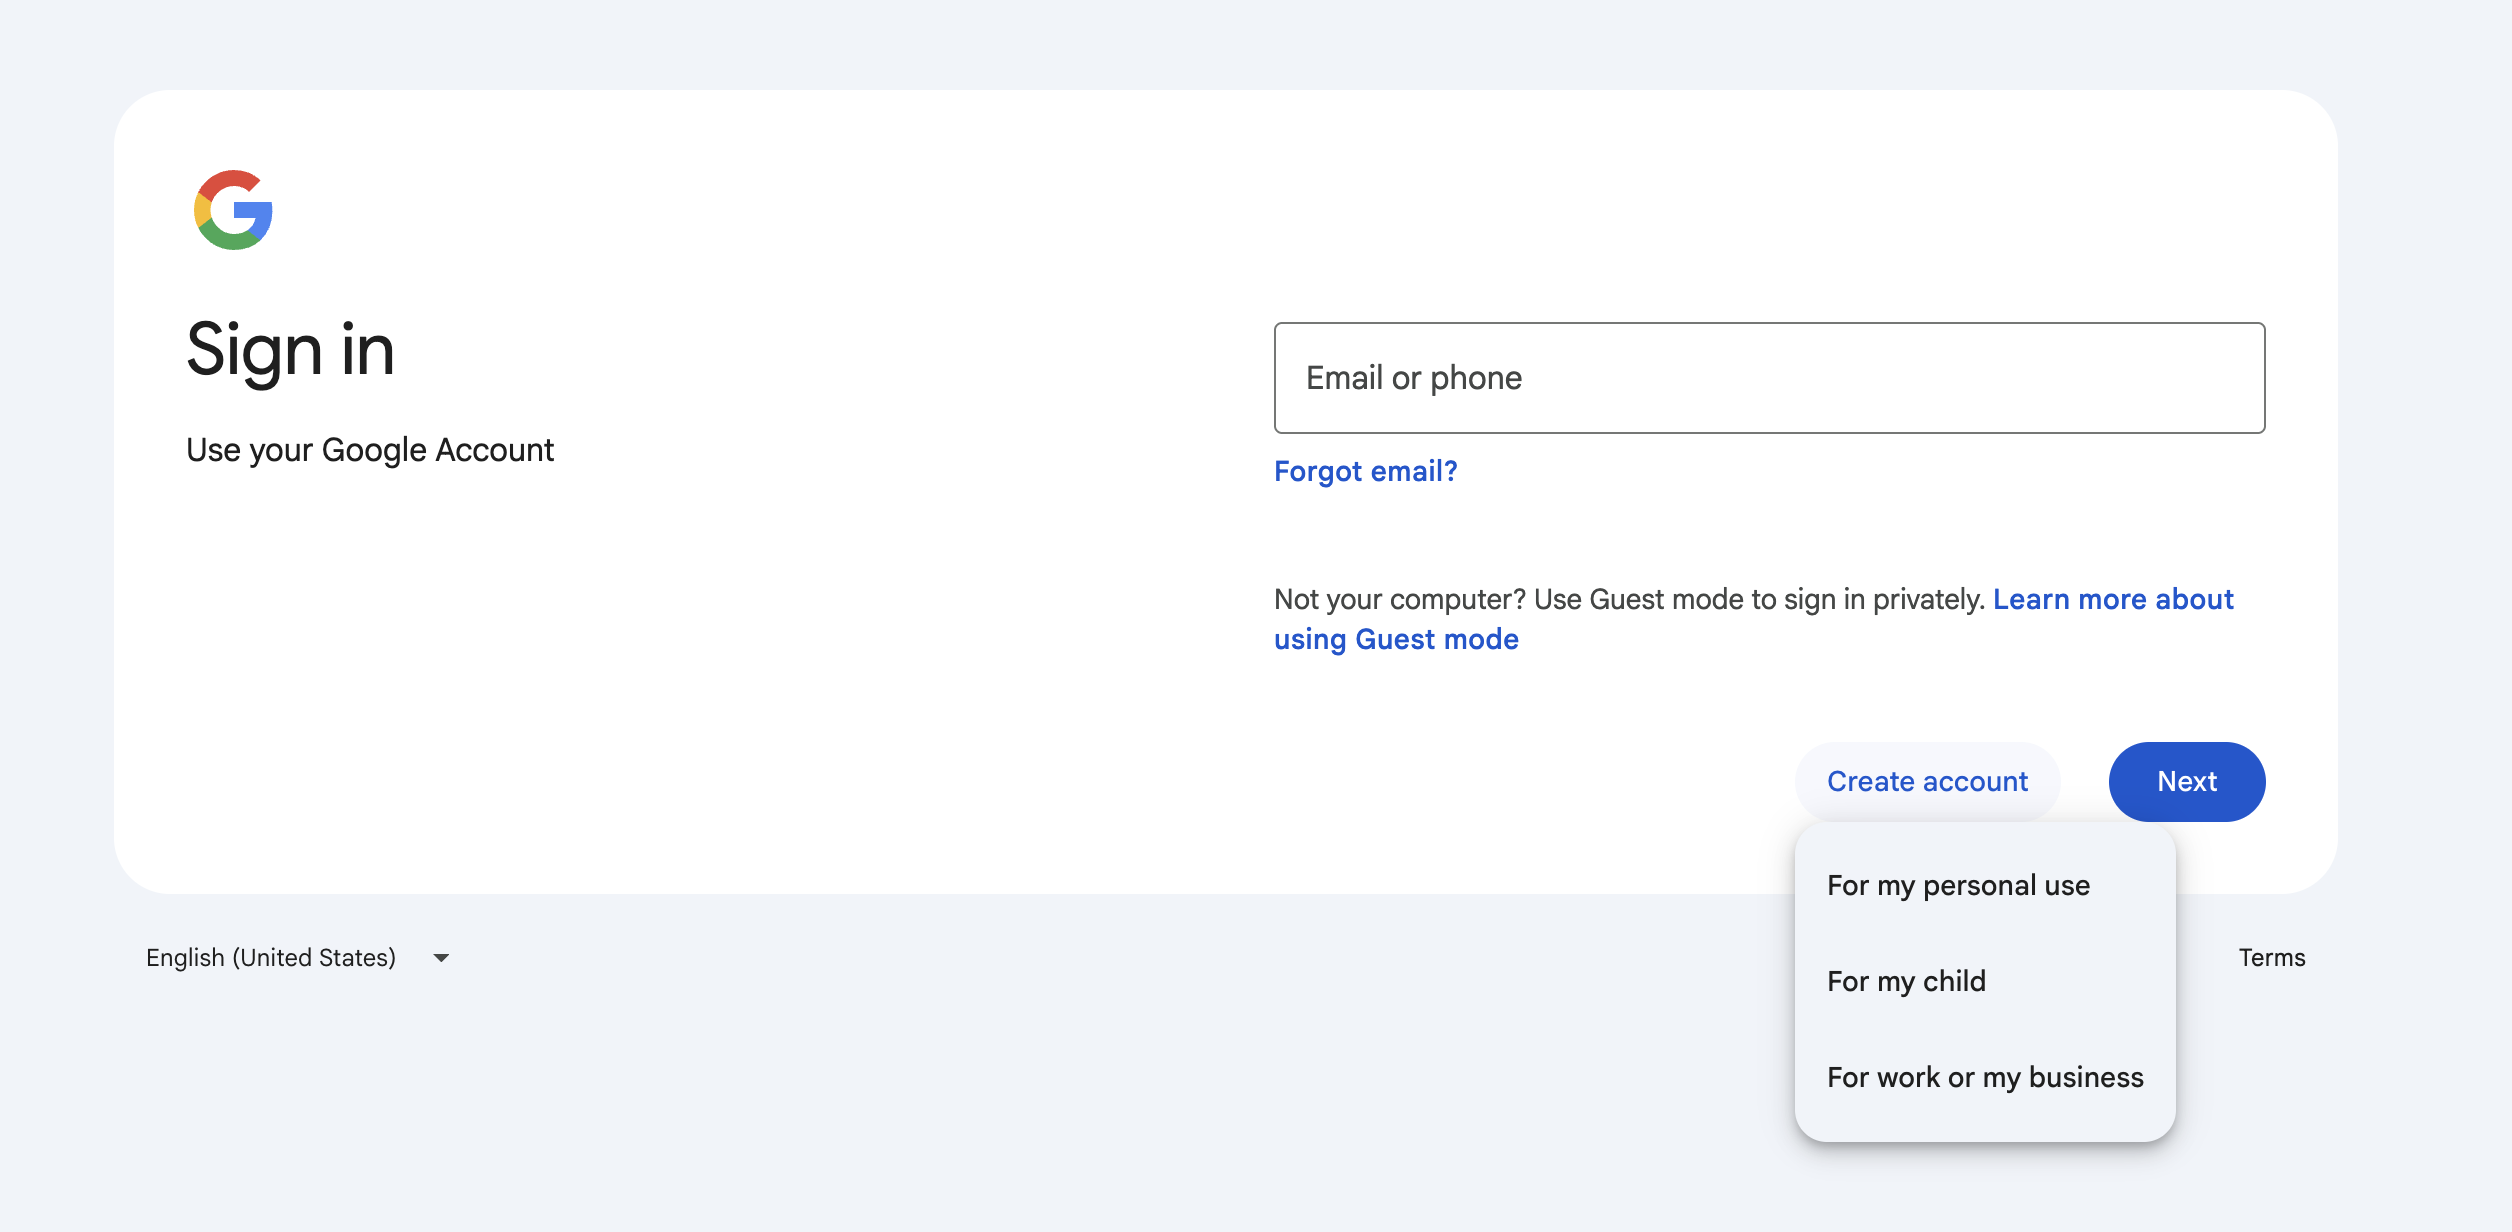
Go to accounts.google.com/signup.
If you land on a "Sign in" page instead, click Create account and pick For my personal use.
- Enter your first and last name.
- Enter your birthday and gender when prompted. Google requires this.
-
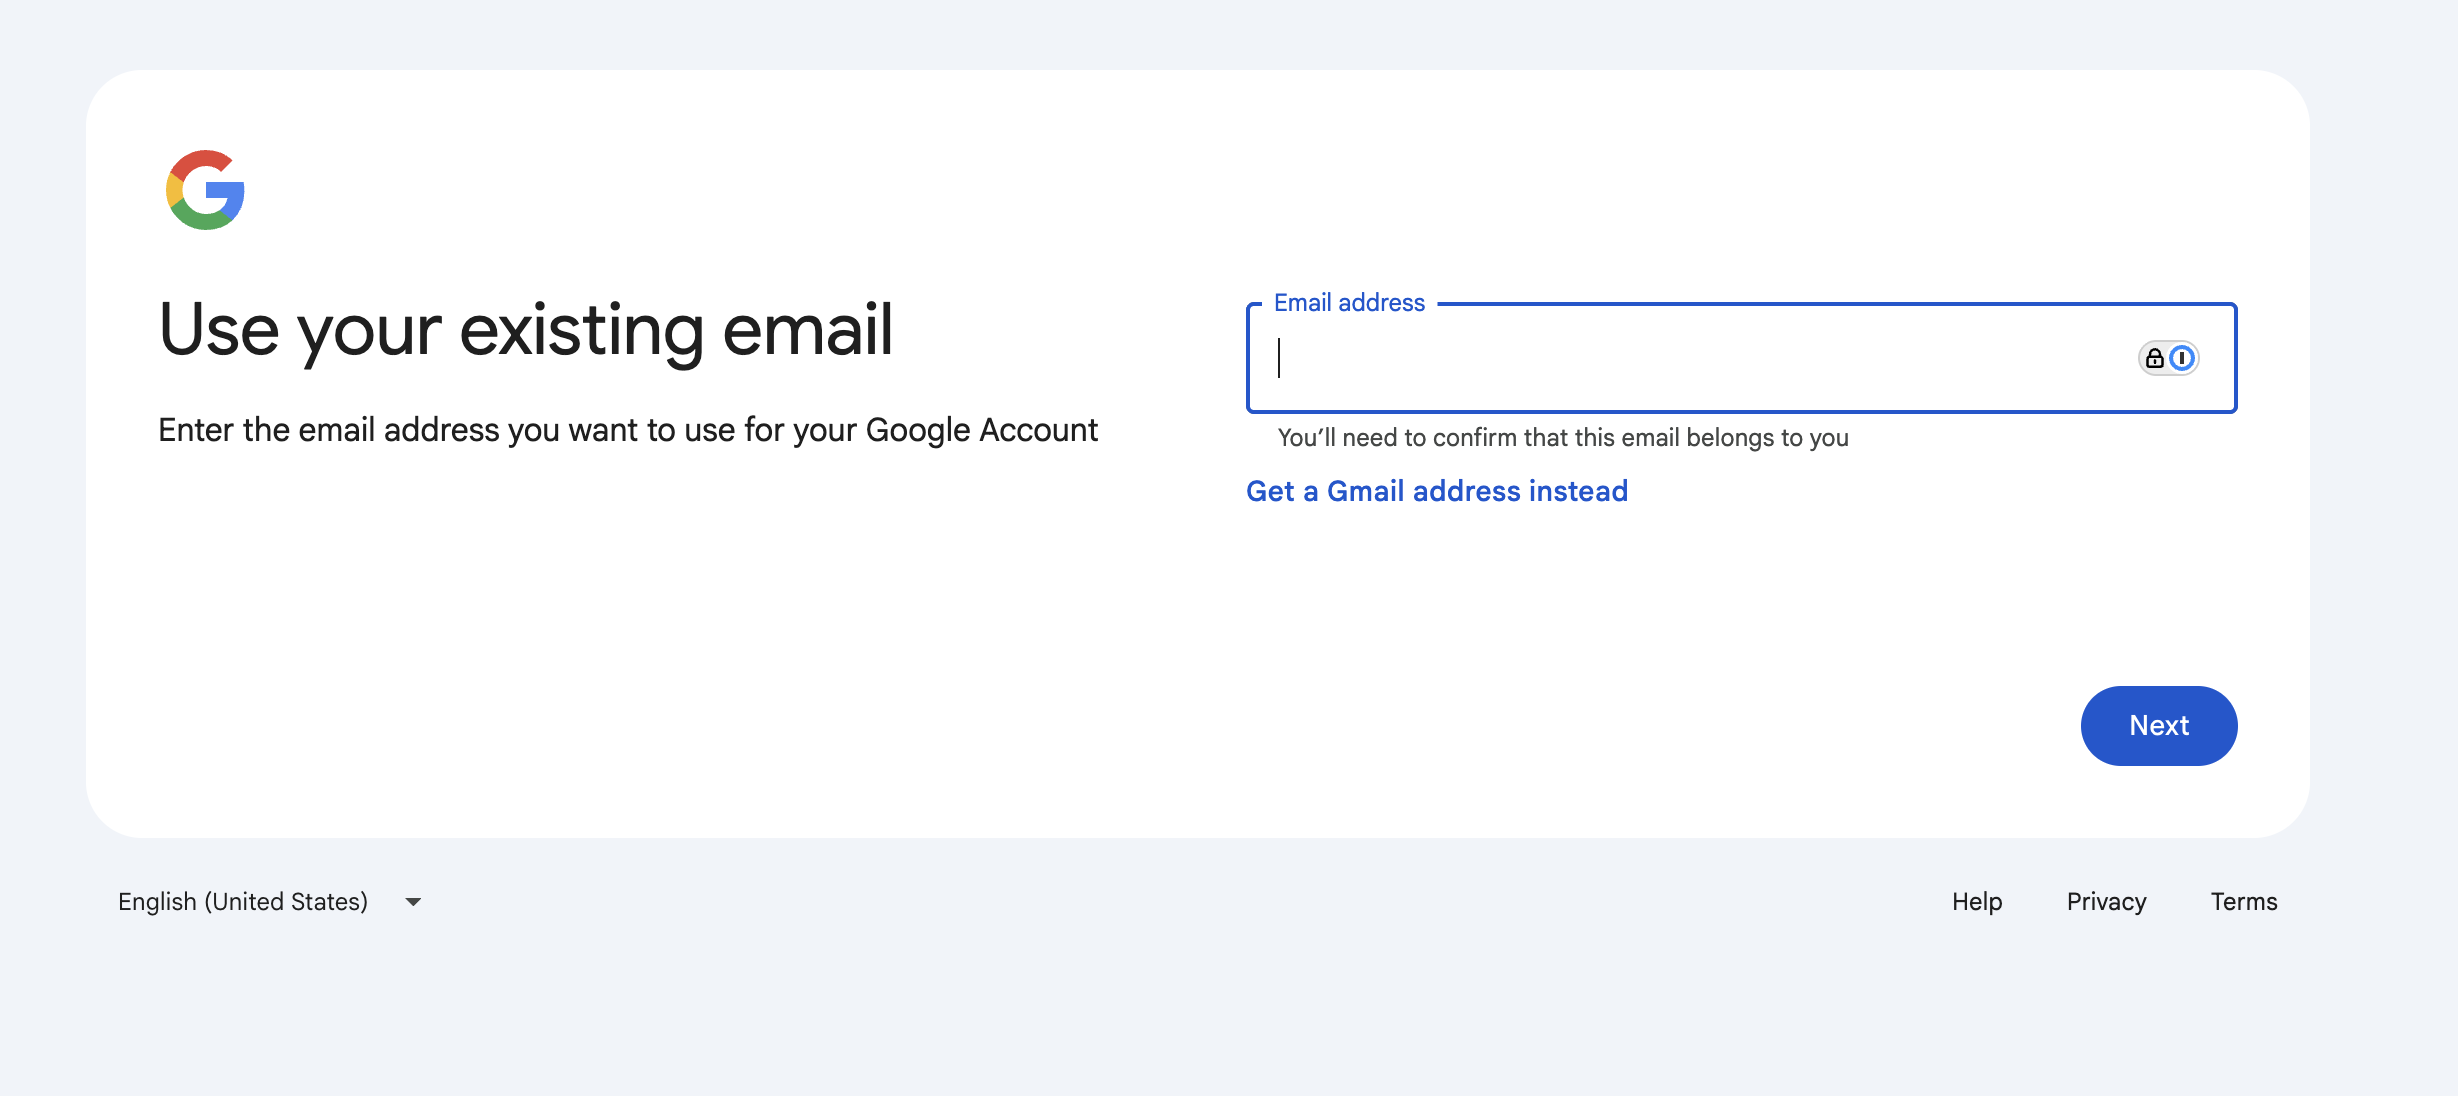
When it asks you to pick a Gmail address, click "Use your existing email" instead.
On the "Create an email address" screen, ignore the suggested Gmail addresses and click the Use your existing email button at the bottom.

Depending on which version of the form Google shows you, the wording can also be "Use my current email address instead" or a small link that just says "Use existing email."
-
Type the email address you actually use.
Use the same address Addie added to the family groups, so the Drive and group archive recognize you automatically.
-
Create a password.
Make it something you can remember. Write it down somewhere safe. This password is for your Google account — it does not change the password on your actual email.
-
Verify your email.
Google will send a code to the email address you entered. Open your inbox, find the message from Google, and type the code into the sign-up form to prove the address is yours.
-
Finish the prompts.
Google will ask for a phone number (optional in most cases), and walk you through a few "agree to the terms" screens. Click through and you're done.
That's it. You now have a Google account tied to your regular email address. You'll keep using your regular inbox like always — group emails will arrive there, and now you can also open the browser archive and the Family Drive.
Common snags
- "I only see the option to make a new Gmail address." Google sometimes hides the "use existing email" link behind a different button, or shows it only after you click into the username box. Look closely under the username field for a small link. If you really can't find it, email techsupport@rudysmithfamily.com and we'll walk you through it.
- "It says my email is already associated with a Google account." Good news — that means you already have one. Go to accounts.google.com and sign in. If you don't remember the password, use the "Forgot password?" link.
- "I never got the verification code." Check your spam/junk folder. Codes usually arrive in under a minute.
- "I'm getting group emails but the Drive link won't open." The Drive needs the Google account step above. Group email by itself doesn't.
- "Something else isn't working." Email techsupport@rudysmithfamily.com. No question is too basic.